


Webflow is becoming increasingly popular. In many countries, Webflow is already significantly more popular than Wordpress or other page builders when it comes to implementing professional websites. Webflow is conquering the design/development industry and is regarded as a poster child for low-code and no-code tools. Webflow is already influencing the way many designers and developers work. The only thing that is still different with Webflow than with popular page builders is the fact that you need to know at least a little bit about how websites work in order to work with Webflow. In this article, I'm going to introduce you to all the important parts of Webflow. I'll go into little to no technical details in this article. We will publish more articles about this over the next few weeks.
<h2 id="Übersicht" data-headline="Webflow Übersicht"><span class="first_id_number">1.</span> Webflow overview</h2>
In case you've never heard of Webflow, Webflow is a visual web design tool that translates your design decisions into precise, production-ready code. It was designed to enable designers and developers, and virtually anyone, to build fully responsive websites. With Webflow, anyone can become a developer. Webflow creates so-called Citizen Developer.
To become a Citizen Developer, you can Webflow University use. Webflow University is different from standard instructional videos about a software product. The tutorials are always to the point, under 5 minutes and very funny, even though it sometimes gets technical, you can always understand everything. The videos are brilliantly created and explain every part of Webflow in detail.
<h2 id="Der Webflow Designer" data-headline="Das Wichtigste zuerst. Der Webflow Designer"><span class="first_id_number">2.</span> First things first. The Webflow Designer</h2>
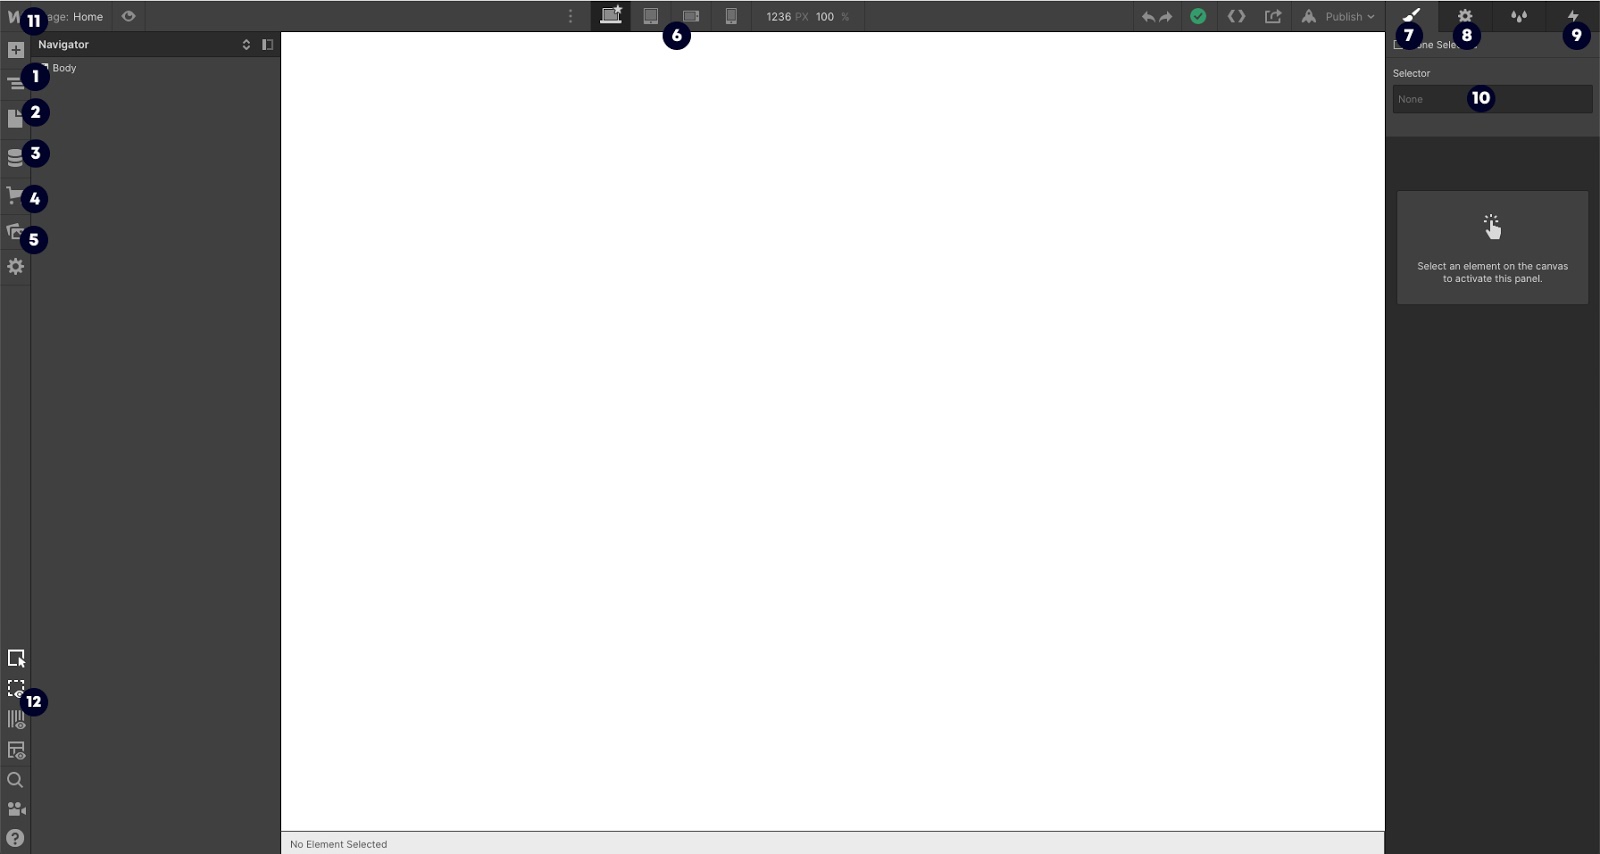
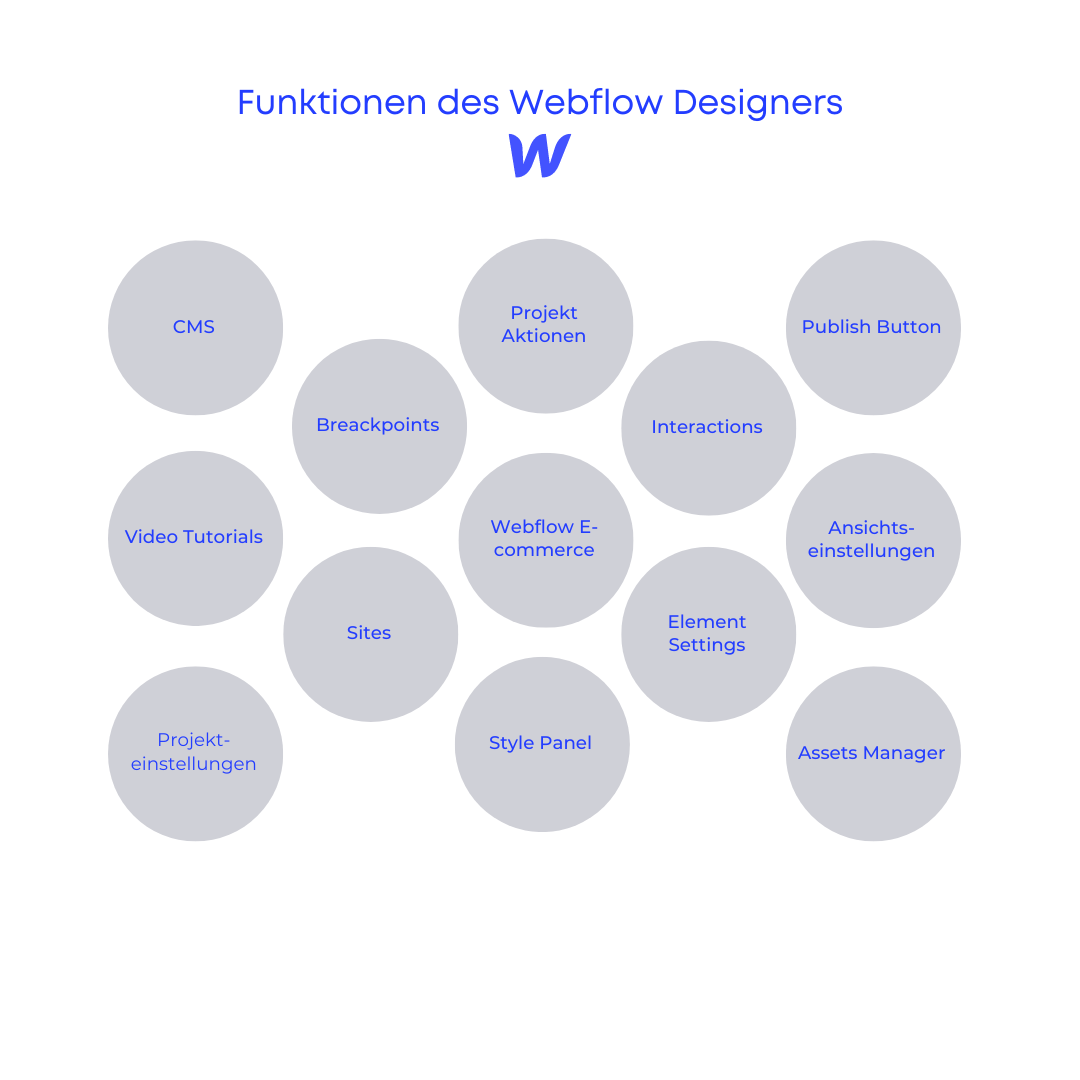
- Navigator - This is where all information about the structure of each page is located. The structure is displayed as an overview of all elements (divs, text blocks, headings, images, etc.). In navigation, modules are added, removed and changed.
- Pages - Here you can find an overview of all your pages and their details within the project. It is also possible to duplicate pages and folders or to add new pages and folders. Folders are a good way to give the project more structure, but be careful if folders are used, they change the URL of the pages. The URL then looks like this: yourownsite/folder/page. You can also find all SEO settings on the pages. If you hover over one of your pages, you can open the settings. There you will find all important SEO settings, as well as the Open Graph settings and the option to add your own codes.
- CMS - The CMS part of Webflow is very large and requires your own blog article, so much in advance, it is possible to set up a lot and the Webflow CMS can be compared with a database rather than with a simple CMS like Wordpress. With the Webflow CMS, you can implement very good blog pages, but other pages that have frequently changing content can also be implemented very easily using the CMS.
- Webflow e-commerce - The features of Webflow e-commerce are still in their infancy, but there are already extensive functions with which you can expand your shop and make it more beautiful than with Shopify, for example. You can read more about Webflow e-commerce in other articles on the blog.
- Assets Manager - Here you can see all of your assets used in your project. You can also use Asset Manager as a “server” to store your documents and make them available to website visitors. This makes it easy to share PDF or other documents with users of the website.
- Breakpoints - Webflow includes 7 different breakpoints to optimize the customer experience on as many different screen sizes as possible. Webflow has 4 default breakpoints: Desktop, Tablet, Mobile Landscape, Mobile Portrait. You also have the option to add 3 larger breakpoints: 1280 px, 1440 px, 1920 px. This feature helps the user to make the website responsive. In just a few hours, a website can be completely optimized for all breakpoints. It is important to always test the project at all breakpoints so as not to overlook any errors afterwards.
- Style Panel - The main window for working with all elements in your project. Here you can add and change margin and padding, colors, or text sizes. Or reposition elements so that everything works at the various breakpoints. At the top of the style panel, you will also find a field for the selector to assign a CSS class to the elements. This feature allows you to style multiple elements at the same time. Here you can also set how the element should change when a user hovers over the element with the mouse or clicks on it.
- Element Settings - All settings of a specific element. Settings, such as where the specific button should link, how certain collections should filter results, etc. - The most important note to remember here is: This panel is only linked to a specific element.
- Interactions - One of the most advanced parts of Webflow, but is often described as one of the most important features of Webflow. This is where you can create all the exciting animations and transitions for your project. The interactions make your website feel even more professional. However, this part of Webflow is not necessarily important for a first project.
- Project settings - All additional settings such as favicon, custom fonts, hosting, SEO, Google Analytics, Custom Code, etc. can be set and edited here.
- View settings - The Webflow Designer view can be changed here. Certain elements can be hidden or displayed and there are functionalities such as X-Ray Mode (a grayscale view of your website's desktop that visually shows the frame, border, and fill of each element when hovering over with the mouse pointer.)
- Video tutorials - The video tutorials from Webflow are, as mentioned at the beginning, very worth watching and help with almost all questions. The videos can also be accessed again and again from the Webflow Designer.
- Project actions - Undo or redo changes, export code, or view the project's storage status can be performed here. The code export in particular is important if the project is not to be hosted on Webflow but on a separate server.
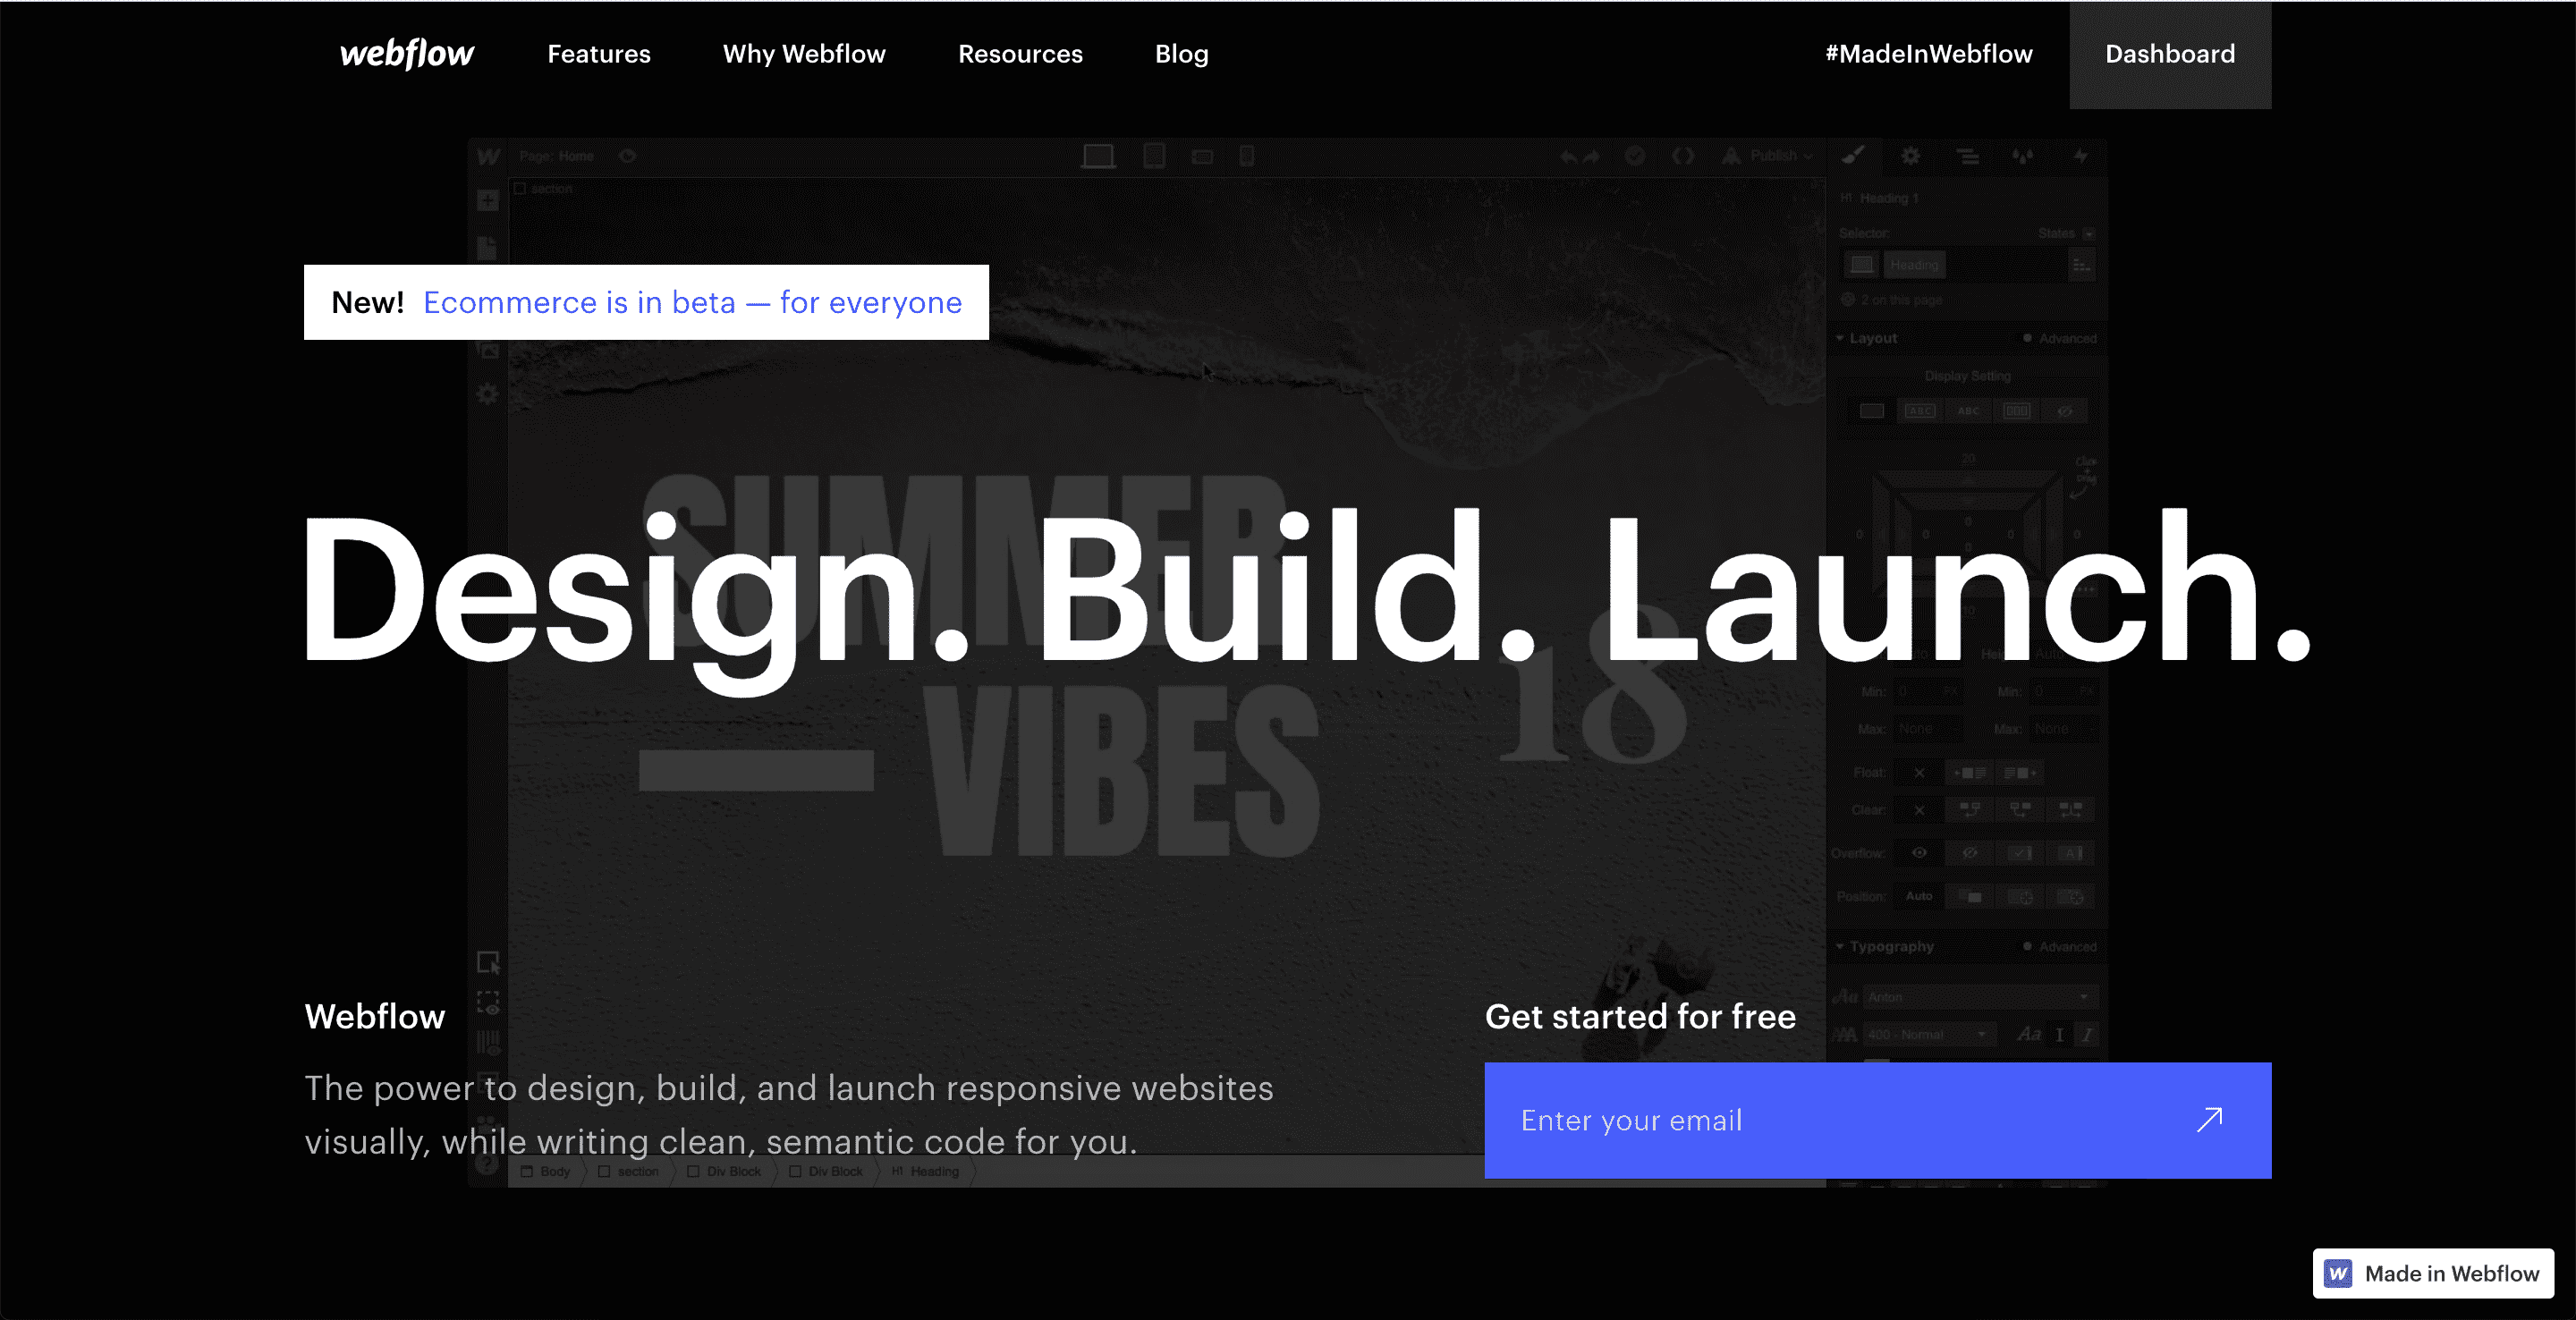
- Publish Button - Probably one of the most important features in Webflow. There are several features here. Among other things, the project can be published on your own webflow.io domain. There are no costs involved and the project can be extensively tested for the first time. Only when you want to publish the project on your own domain do you incur costs. With Webflow's publish function, changes can be viewed directly in the browser on the real website. It only takes a few seconds from changing an element to a live view and therefore offers almost live editing.
That was an overview of most of the functions of the Webflow Designer. If you'd like to learn more about some features, contact us for a free consultation. We'd love to hear from you.
<div class="rtf-blog-element cc-filled"><p class="rtf-blog-heading cc-white">You are welcome to <div class="c-button-text cc-mr15">contact</div> us for a free consultation</p> <a href="/de/kontakt" class="c-button cc-border w-inline-block"><div class="c-big-arrow-link_icon w-embed"><svg xmlns="http://www.w3.org/2000/svg" width="20" height="14" viewBox="0 0 20 14">
<path id="arrow_right" data-name="arrow_right" d="M15,5,13.59,6.41,18.17,11H2v2H18.17l-4.59,4.59L15,19l7-7Z" transform="translate(-2 -5)" fill="currentColor"></path>
</svg></div></a></div>